
I truly enjoyed creating our Easter table décor this year, the pops of pink and flowers brightened the whole room. Spring is coming and nothing says spring like pastel colors and beautiful flower blooms. Creating this table was very simple and only took me about 30 minutes. I sourced a few things from a local boutique and other things from Hobby Lobby so this look would be very easy for you to recreate. Follow along as I show you step by step instructions.

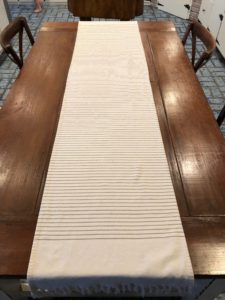
Table Runner – If you don’t already have a runner on hand, choose a table runner that will contrast with your table. I’ve had this table runner for years and I like to shop my house first before buying things, this also makes my husband very happy! There are endless places to search for table runners but Hobby Lobby, Target and TJMaxx are a few of my favorite places to look. Click here for a really nice white one I found on Amazon.
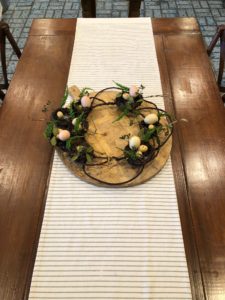
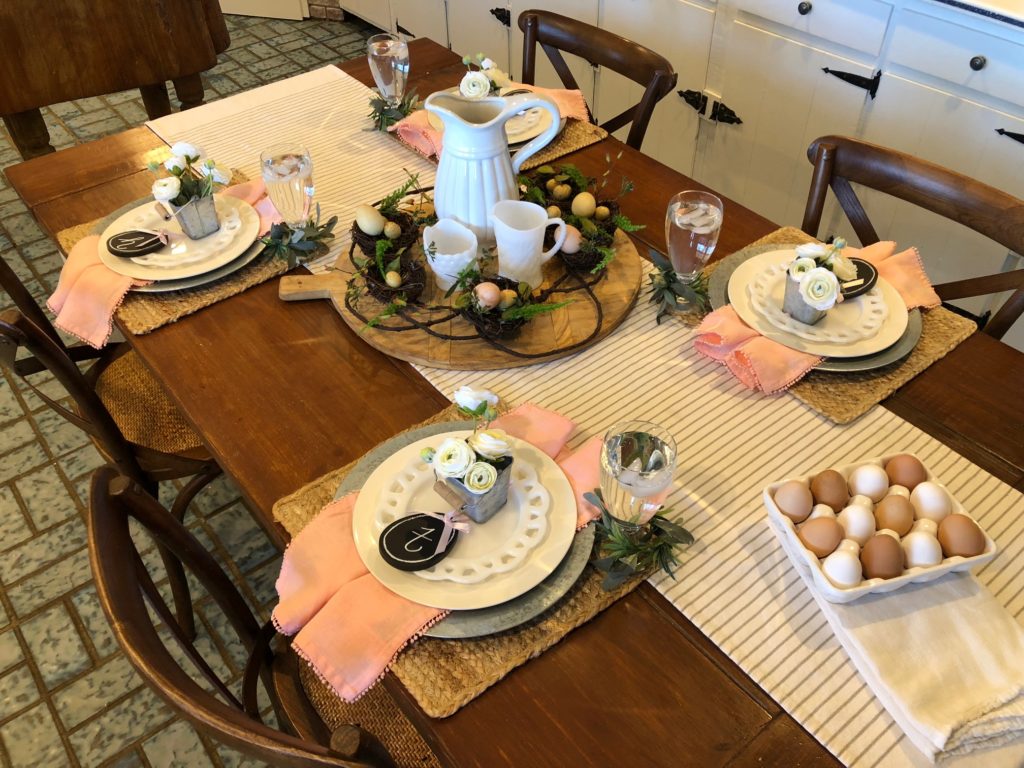
Centerpiece – I like to use things I have on hand, like cutting boards or trays, to create a base for my centerpieces. This creates contrast and it’s easy for me to remove my centerpiece easily when needed. With toddlers at this table three times a day I often remove the entire centerpiece and just replace it after a messy meal.

On top of my bread board I placed a wreath, yes a wreath! It’s a great way to add dimension and texture. This wreath is specifically for Easter but any coordinating wreath would work. I grabbed this one from a local boutique, Whoop De Do Design, you can check out here.
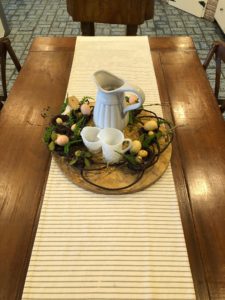
In the middle of the wreath I simply placed some white pitchers I had on hand, shopping my house again. This adds height to the center of your table and brightens up the bread board and wreath. Adding pitchers is easy but also practical, at any time I can add fresh flowers this spring as they come and go outside.

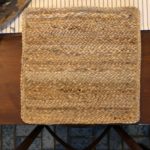
Placemats – Choose placemats that will contrast from your table runner and charger and/or plate. My placemats are jute and I purchased them last year at Wal-Mart. I cannot find a link for them but I found similar ones here, and they’re really cute! The texture they create is perfect for this table and I love the natural feel they give.

Chargers and/or Plates – I purchased these chargers recently from the spring section of Hobby Lobby and you can find them here. I knew I would be using my white plates and these galvanized chargers brought in another texture to the tablescape. I actually keep these on our table all the time because it is so easy to simply rinse off or wash each charger after a meal and most of the crumbs and mess are contained on the charger. You remember those toddlers I told you about? I’m all for easy cleanup!
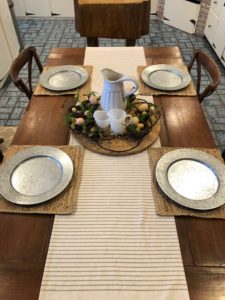
Place Setting – Layer, layer, layer! You cannot beat a beautiful place setting and layering is key. Including the placemat, I have six layers for my place settings.


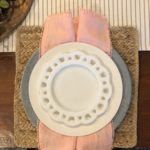
You’ll also want some contrast within your place setting to keep the eye satisfied and moving. I actually thought of this design from the bottom up because I knew I would be using the white striped table runner, jute placemats, and my white plates. So the galvanized chargers, pink napkins, and small flower arrangements created great contrast with the items I already had on hand.

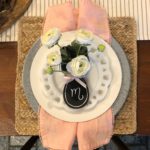
The small flower arrangements are all from Hobby Lobby. The galvanized tins are in their spring section here, and the flowers are always on hand in the floral department here. I used one stem for each place setting. The egg shaped chalkboard ornaments are so fun and from a local boutique, Whoop De Do Design. I believe they are meant to be ornaments on a tree but they were the perfect addition to my table setting.

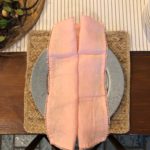
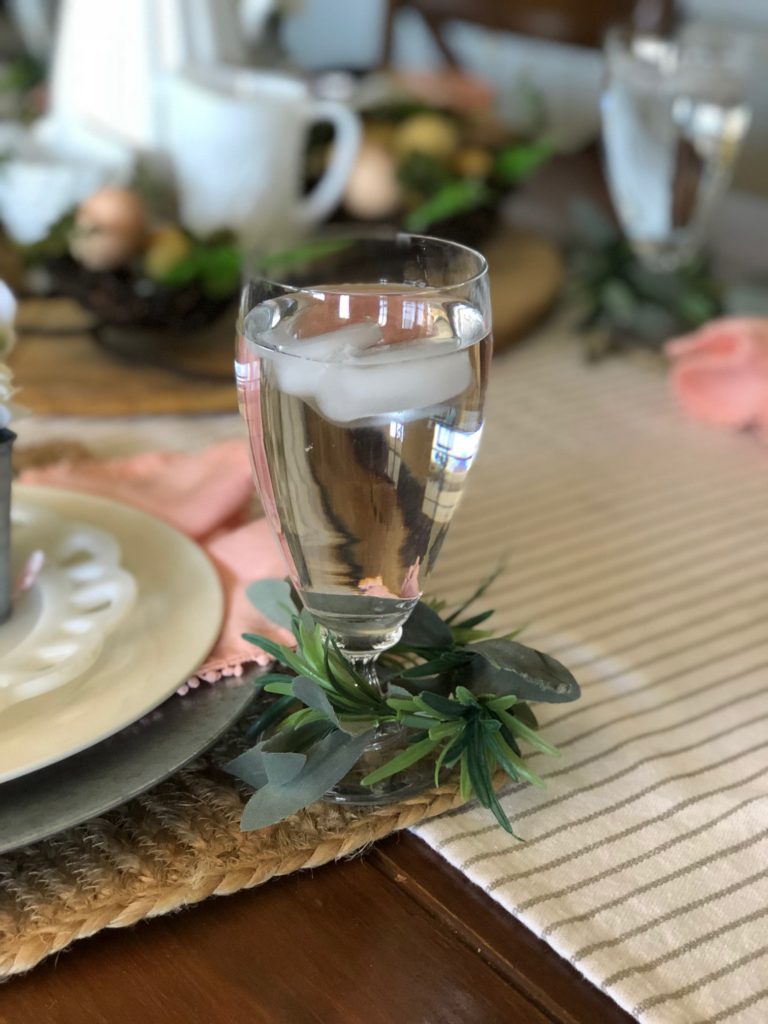
The pink napkins are the perfect pop of color, they’re from Hobby Lobby too and you can find them here. I immediately fell in love with the pom pom fringe, yet another texture for my table setting! Don’t be afraid to get creative with your napkins, they can really go anywhere on the table. I chose to display mine this way because it allowed a nice amount of pink to be showcased. I purchased napkin rings in the spring section of Hobby Lobby too, they’re sold out online, and after I displayed my napkins under the plate I chose to get creative with my use of them. Adding them to the bottom of each glass was a great way to incorporate more green and texture to the table setting. You never know what I’ll use things for!
That’s my step-by-step guide to creating a simple and beautiful Easter dining table! I’ll leave you with a few take away tips as you begin your Easter table décor.
-Shop your house first, then go shopping!
-Choose three to four textures and keep that theme throughout your tablescape. Natural elements, galvanized metal, white porcelain and soft fabrics were the four I stuck with.
-Layer, layer, layer your place settings! Keep the eyes happy and moving.
-Use items that make you happy. There’s nothing better than your house smiling back at you!
-Keep it functional for your household. Pretty is nice, but practical is better.
Comments are closed.
Martha
March 20, 2018Good job love your entry wall Martha