Back to home
in lifestyle

our garden

  • June 13, 2018
  • By Morgan Miller
  • 0 Comments

When you live in the country, a garden is basically a requirement in your backyard. When driving down the road I enjoy getting glances at everyone’s beautiful work. Some are big, some are small, but they are all invested in.

Our first summer here on the farm we knew we wanted to have a big garden. We had very successful raised garden beds while we lived in Tennessee but never had our own large backyard garden. I did grow up working in a garden and knew most of the basics to getting started.

Last year, our first summer here, we bit off more than we could chew. We did learn a lot, but our garden wasn’t very pretty. Sure, it produced great things but it sort of made you scowl when you looked at it. We basically let weeds take over because we were trying to take care of too much outside while also finishing up renovations on the inside while also raising two two year olds. Not to mention my husband built a gorgeous chicken coop and was working hard at his new job.

Needless to say, this year we decided to work smarter, not harder. I carefully planned out our garden in February and actually started some things from seed at the end of that month. It’s always so exciting to think of digging in the dirt and the plants you’ll have that summer. Isaac also started researching and came up with a plan. Together we make a pretty darn good team and we are happy to say we created, and most importantly still have, a beautiful garden.
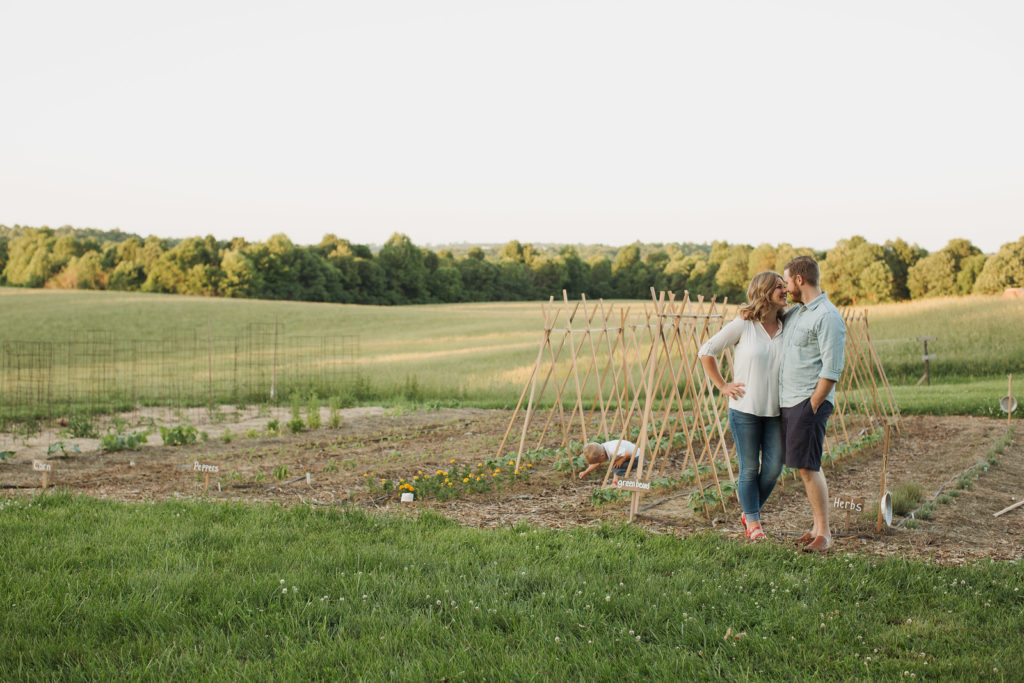
Below are our steps to starting a large garden. This is by no means the only “right” way to do it, but this is what worked for us.

  1. Plan out your garden – You’ll need to figure out how many of each plant you will need. Once you have that you should research plant spacing to calculate how much garden space you will need. I highly recommend www.smartgardener.com, there is a fee to join but is such an amazing resource for newbies. You basically answer questions about your family’s food consumption and garden space and it will help you plan out your garden. Once you know what plants you’d like you can even create a diagram of your garden. It gives you companion planting information, plant spacing measurements, and you can even set a reminder of when you should be planting specific plants based on your geographical location. Check it out, you won’t be disappointed.
  2. Break your garden space – We had a neighbor come with his tractor to “turn over” our garden. This breaks the ground and lays the sod over.
  3. Till your garden space – If you are not able to have someone turn your garden over you can just use a tiller, but be prepared to spend hours and hours doing it. The goal is to create a garden space free of sod and full of fine soil. This can be done with simply a tiller, it just takes a while. We, again, asked a neighbor who has a tiller attachment on his tractor to come till our garden. He ended up needing to come three different times to get it how we both wanted. We went through and removed all the sod and weeds in between tills. The end product was rich, fertile soil that was weed and sod free! It was so soft and beautiful!
  4. Form your rows – This was part of Isaac’s plan. I marked off where I wanted all of my double rows (from my outline I made on Smart Gardener) and he raked my rows in to place. They ended up being a couple of inches high and about three to four feet wide. We did this so we could work from both sides of the row and have less of an area to weed.
  5. Lay down cardboard – Another part of Isaac’s plan. We slowly collected cardboard boxes and broke them down to store. We had them ready to use once our garden was ready for this step. We had never done this before, but the point was to create paths in between our rows and cardboard is a great weed barrier that will break down into the dirt later. We cut pieces to fit and laid them down around and in between all of our rows.
  6. Wood chips on top of cardboard – Isaac’s plan…On top of the cardboard we place wood chips. We were actually able to get them free from a group of guys that trim trees for electrical lines, which was a huge bonus! We shoveled loads and loads of wood chips on top of the cardboard to make for a perfect walking path. The best part? When we have heavy rain the water goes right through the wood chips creating a dry path to walk on. This is a huge bonus for me because we don’t have to wait on the mud to dry in order to work in the garden or harvest things. I will say, it was so much work. But it has definitely been paying off!
  7. Time to plant – Look up your last anticipated frost date and get ready to plant after that date. I mentioned above I grew a few things from seed. It wasn’t a complete disaster but I don’t think I’ll be doing again. We have various garden fairs in the spring time here and I was able to find all sorts of plants I needed without the fuss of growing them from seed myself. Not to mention they were all a great price too.
  8. Newspaper and straw – Once we had planted we wet newspaper and laid it around the plants to cover all of our rows. As we went we placed straw on top of it. This not only holds the newspaper down but helps the plant retain moisture. Why did we do this? It helps keep the weeds away! Again, it was a lot of work but so worth it! I barely have to weed the areas of our garden we did this to.
  9. Irrigation lines – This is not a must, but a huge time saver. Once I had all my plants in order I laid the soaker hoses in two different sections. Our garden is too big to connect all the hoses so I have to water in two different sections. I also found an inexpensive water timer that attaches to your water spout. I can turn the water on and set the timer for two hours. It will cut the water off after two hours. Again, work smarter not harder!
  10. Keep the animals out – Last year we had a big problem with deer eating our plants. This year, as soon as we planted I used a product that has worked so well for us! It’s called Liquid Fence and it basically is some really gross smelling things that deter deer and rabbits that you sprinkle around the perimeter of your garden. You should reapply every month for it to keep working. We haven’t had one plant eaten this year! Buy yours here.
  11. Keep the bugs out – Insects can completely take over a garden if you let them. We try not to use harsh chemicals on our garden since we will be eating what it produces, but out here in the country we have to do whatever works. If I ever see bugs on anything I will use water and spray them off. But when needed, I’ll use Sevin Dust, check it out here. It is toxic so you’ll definitely want to read the instructions and not use around your kiddos. I only use this product on the plants that vine or need to grow first before producing anything, like green beans, corn, or watermelon. Once the plant starts producing anything it’s up to me to spray the insects with water until harvest time.
  12. Weed weed weed – No matter what you do, weeds will find their way into your garden. Some days I spend hours weeding the garden and some days I don’t even make it out to our garden. Tis life. But don’t do what we did last year and let weeds take over. It not only creates an ugly garden but it also takes oxygen and nutrients away from your plants.

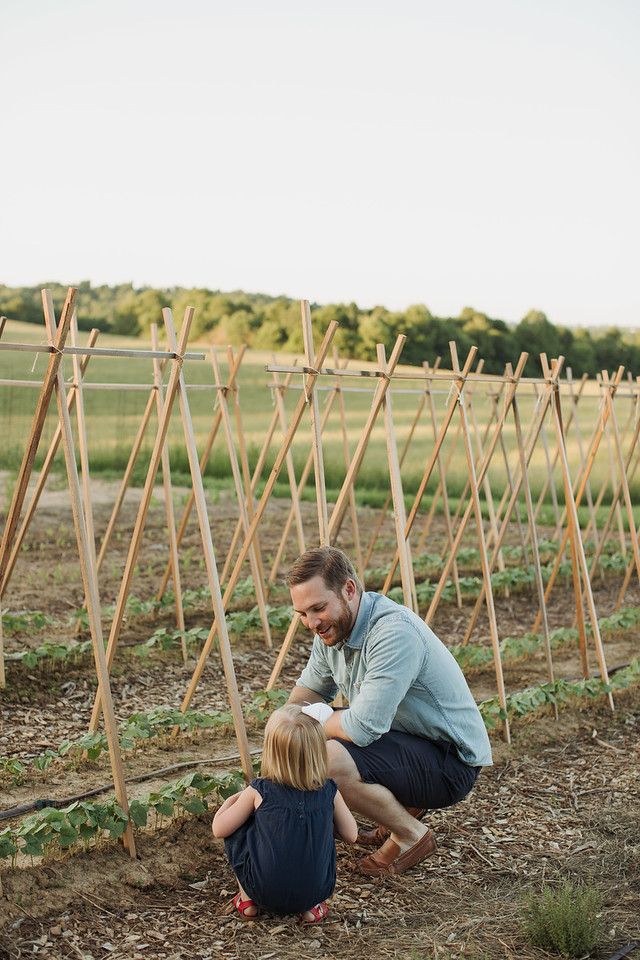
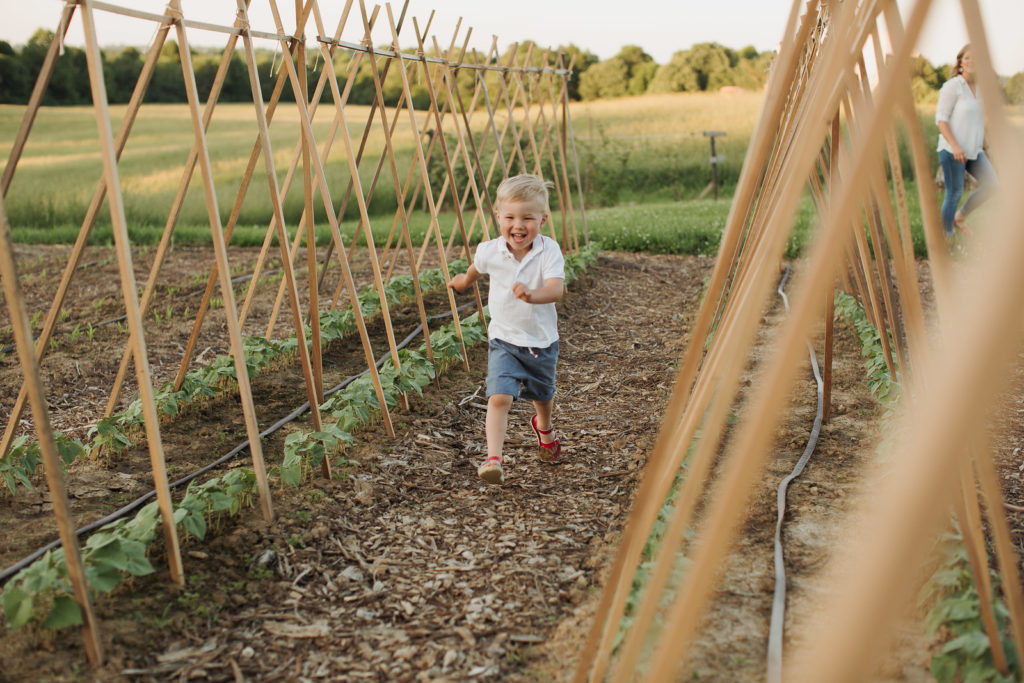
Shew! As you can see a garden does take a lot of time. We’ve allowed our garden to just become a way of life with us this summer. Most nights once the sun begins to set we are all four out in the garden caring for it, playing in it, or harvesting things to go with supper that night. Our twins are three and they absolutely love being in the garden and watching things grow. It seems to be very intriguing for them. We allow them to be involved in the entire process. How neat is it that Hadley talks about the corn and green beans that she planted! Before too long she’ll be enjoying those things for supper. It’s such an exciting thing for them to be involved in.

I’ll recap some of our favorite products I mentioned above in case that’s what you’re most interested in.


Liquid Fence

Sevin Dust

Water Spout Timer

We really do enjoy working in our garden. We are able to can the majority of things to eat all year in addition to eating from it all summer long. This year, I will say, has been so rewarding to see the twins interested in the garden. They know mommy and daddy need to spend time working in the garden so most of the time they’ll join right in asking us how they can help. Most of the time, we end by playing in the garden. It’s become so much fun as the garden grows taller and taller!

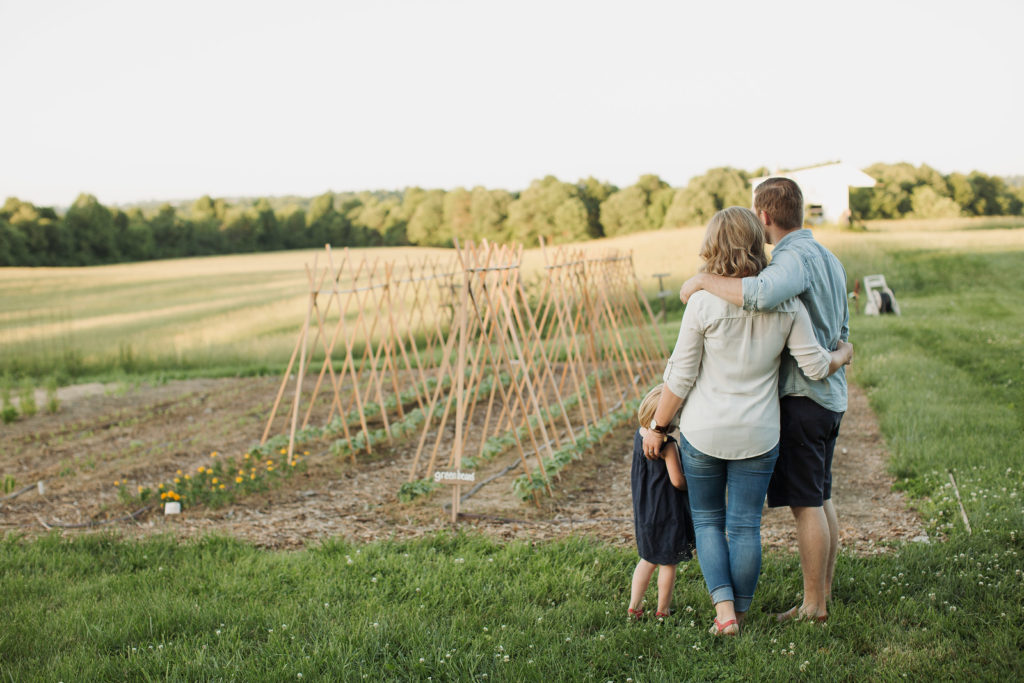
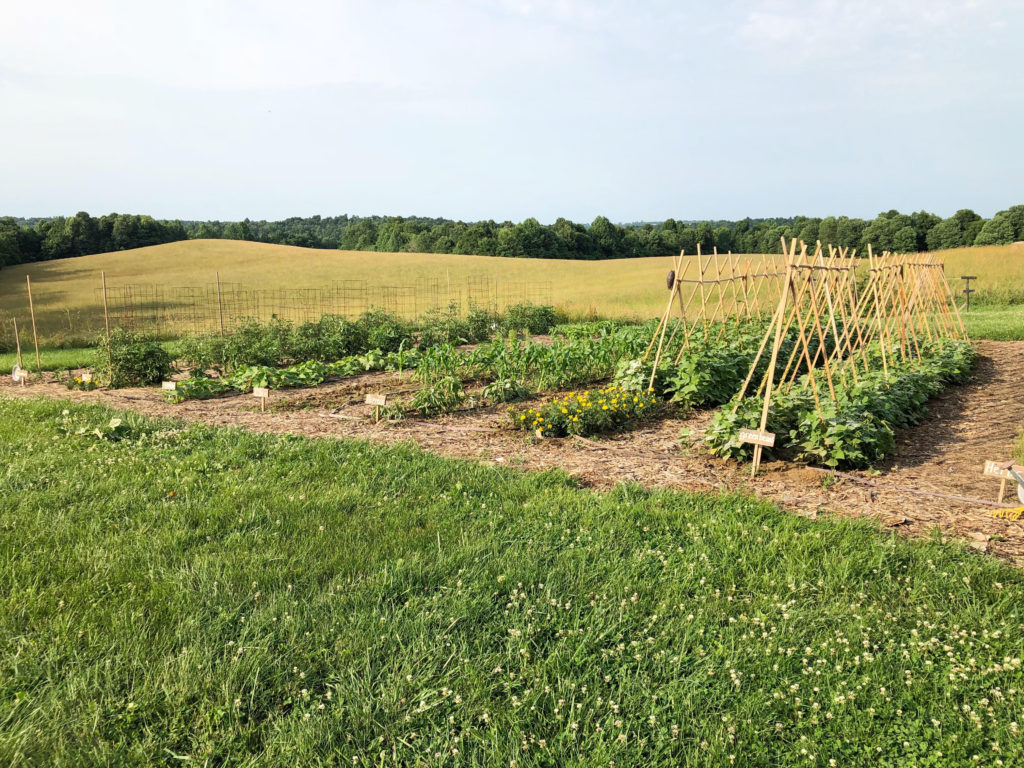
Enjoy a few pictures of our garden not long after we planted everything.
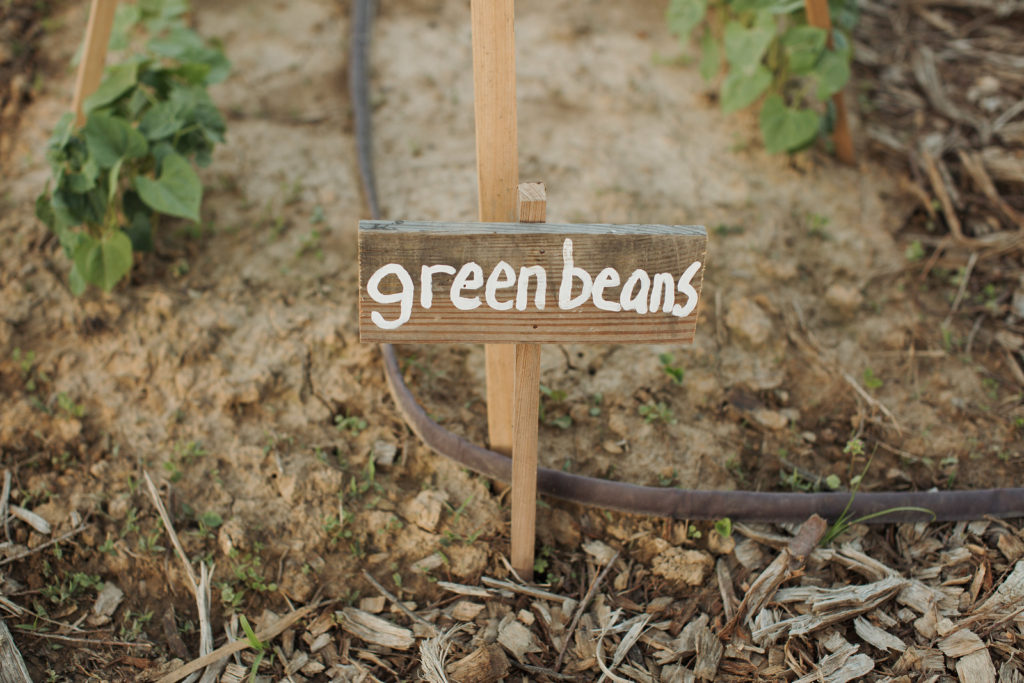
 

Check out the amount of growth in only two weeks!
By Morgan Miller, June 13, 2018
about me
Hi there! I'm Morgan
I'm married to my high school sweetheart, we have five year old boy/girl twins, and we recently bought the family farm. Join me as we live this beautiful life!
follow me
Instagram API currently not available.